Essential Cleaning Procedures Before Indoor House Painting Projects
Prior to painting an interior room, it would seem the only task is to select the right paint color, after which one can start painting, right? Actually, there is important prep work that is almost always necessary to complete before the actual painting process can begin. Take a few minutes to clean and prepare a room before painting can lead to a better-quality paint job and, ultimately, save time in the long run.
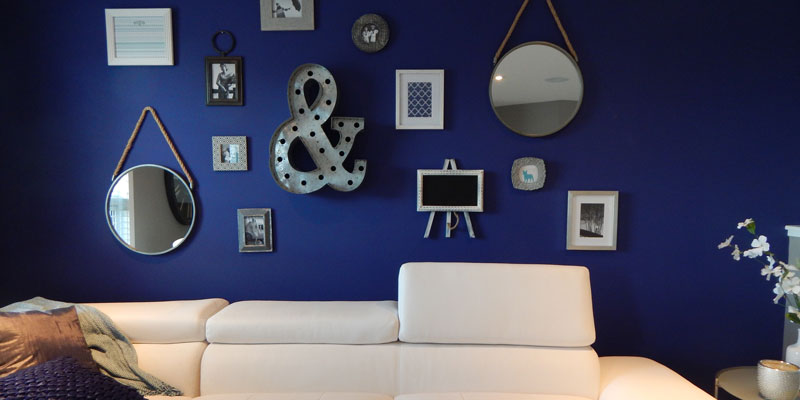
Remove and Store Décor
The first step in cleaning before starting the painting process involves removing any wall décor and cleaning underneath where the items resided. Cobwebs and other debris tend to collect under wall adornments that have been hanging for years. If the underside is very dirty, it might be necessary to wipe away the debris with a damp cloth and mild soap, and allow ample time to dry. Remove all nails and other pieces used to hang wall decorations, and store them away. If there are many small parts, store each set in a plastic bag with a small piece of paper that lists which hanger goes with which piece of wall décor. This is especially important if some of your ornamentations are heavy and require specific hooks or hangers to support the weight.
Dusting
Trim, especially baseboard trim, tends to collect dust, and it must be removed before painting. Those that skip this step often find that dust and other debris collect in their paint brushes, leading to uneven strokes and bumps of debris on painted surfaces. Spiders may also leave cobwebs near the ceiling corners, so it is important to check all surfaces and remove any webs with a soft brush or cloth before painting.
Consider Spackling
If you plan to put wall decorations back in the exact same spots after painting, you can leave a toothpick in the wall hole to mark the spot. Simply remove the toothpick when painting and replace it after each coat. If the old wall décor will not be hung in the same location, use spackle to fill in the wall holes before painting. Spackle does need to dry, so be sure to patch up any holes and leave plenty of time for drying and sanding. While filling in holes, also check for other minor wall blemishes or holes, and cover with spackle. Larger holes may require repair with a drywall repair kit, which consists of a thin mesh placed over the hole and spackled into place. Using a drywall repair kit can take multiple coats of spackle, followed by sanding, so be sure to plan far ahead to complete this task before starting the paint process.
Want to know more about how to properly prepare a room for painting? For more information, tips and tricks, or for professional help for your next painting project, contact us!
