4 Tips for Flawlessly Painting Trim
It's no secret that a well-kept building or home is more inviting than one that needs some work, even when it's minor. A building's trim is easily overlooked, but when you think about it, it's essentially the frame to the picture and actually rather important. Likewise, interior trim doesn't get much thought but is just as important.
Paint on your home’s trim can chip, crack, and become faded, making the entire area appear run down. Thankfully, a couple of coats of fresh paint have an amazing way of making everything look brand new. It may sound intimidating to repaint trim, but it can easily be done following these knowledgeable tips.
1. How Often Should Trim be Repainted?
Exterior wood trim generally needs to be repainted every 5-7 years and aluminum (take out) should be touched up every five years. Factors including the climate and orientation of the building can impact the exact timeline, but those are good rules of thumb.
Interior baseboards, door frames, and window sills should get a fresh coat of paint every 2-3 years. Not only do they get scuffed and nicked, they're also magnets for dirt and dust. This can degrade the paint, requiring more frequent touchups.
2. What Type of Paint Should be Used?
The type of paint you choose is a personal preference, but latex paint is an excellent choice because it's long-lasting and easy to use and clean. With latex paint, you'll want to use a synthetic brush, but if you opt for oil-based paint, it's important to use a natural-bristle brush. Semi-gloss paint is ideal for interior trim because it stands out but is also easy to clean and is durable. Satin paint for exterior trim is the preferred sheen due to its ability to reflect UV rays. Semi-Gloss and Gloss on exterior are usually not used because the high sheen pulls out imperfections in the surface it’s applied to. Flat is an option, but not as common as Satin due to it not having the sheen to reflect the UV rays and therefore the coating is broken down faster, resulting in color fading.
On the interior, an enamel interior trim paint should be applied to the trim and on the exterior a normal latex house paint will be sufficient. Each of these types of paints have different levels of quality. We always recommend going with the high end versions of the products.
3. Paint Preparation
When painting the exterior trim, paint on a day when the temperature is between 70-85 degrees and the humidity is low. Before actually painting, your work area needs to be clean and dry. It's a good idea to have the entire exterior pressure-washed if it's within budget. Be sure to cover up any plants and paved areas outside with plastic sheets and remove window coverings and move furniture as needed inside. If you're painting shutters, they should be removed prior to painting. The surfaces you're painting should be primed and they may also need to be sanded.
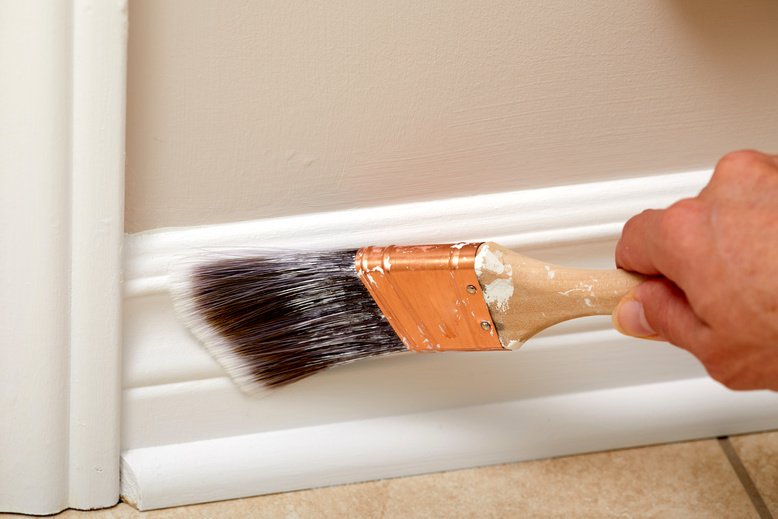
4. Easy Does It
As you paint, use a light hand. Dip just the first two inches of the brush into the paint and let any excess drip off. Apply the paint in a quick back-and-forth motion, two or three strokes at a time, then repeat the process until you've covered a 4-5 square-foot area. It’s also a good idea to apply an additional coat 3-4 hours after finishing the first one.
If you run into any issues or decide this DIY project isn’t for you, give our professionals at Major Painting a call. We know that a fresh coat of paint makes a world of difference and are happy to help! To learn more about our painting services, contact us today!
