Sand Surfaces the Right Way
You have decided to tackle the job of refinishing your hardwood floors. Unless your floors are badly warped, bowed, or the wood is splintering, you can likely do the job yourself. Properly planning and having the right equipment at the ready will make the job easier, so be sure you understand and have prepared yourself with the following details.
Why Is It Important to Sand Surfaces Before Painting or Staining?
Your main reason for refinishing your hardwood floors is that they no longer look nor feel new. Varnish may have worn away, the wood has scuffed, or it’s stained poorly. Sanding the surface before refinishing will remove the old stain, varnish, and dirt, allowing the new stain to adhere better to the wood. It will also help color be uniform throughout. Sanding will also even out any minor flaws in the wood. Think of it like an eraser, cleaning up old impurities, so you can start anew with a clean slate.
Important Tools to Have
Prepare to sand your hardwood floors by gathering all the important tools you will need, and understand how to use them. When you have all your equipment together, the job will go smoother, as you won't have to search for anything in the middle of the process.
- Drum sander
- Palm sander or sanding block
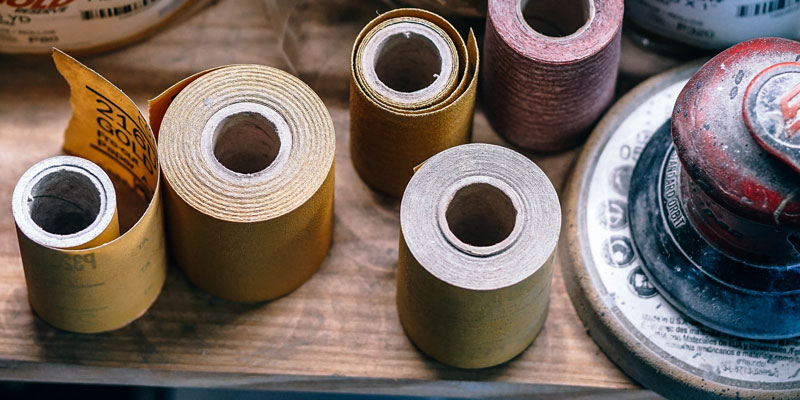
- Sandpaper: Get a variety like 20-grit for stubborn varnish, 36-grit for old floors, 60-grit to remove scratches, and 120-grit for final sanding.
- HEPA-vacuum or wet/dry vacuum
Safety Precautions to Take
Older homes may have lead in the old floor finish, so protecting yourself is probably the most important step to take before sanding. Even if your home is fairly new, still take proper safety precautions.
- Cover vents, doorways, and light fixtures with plastic sheeting.
- Equip yourself with ear protectors, safety glasses, work gloves, a HEPA-filter respirator, and a disposable protective cover-all.
- Keep children, pets, and pregnant women out of the house while work is being done. Clean up after sanding before allowing them to return.
The Sanding Process
You will need to remove all furniture and area rugs from the room. Look over the wood. Hammer in any nails that are sticking up, and pull out any staples or metal fasteners. If these are left in floors, they can destroy the sandpaper. Once you have all your equipment and the room is prepped, you can begin sanding. It is a good idea to practice using the drum sander in an inconspicuous area, like a closet floor or a spot you know furniture will stand.
Now that you feel comfortable using the drum sander, move into the larger areas of the room. Walk backwards and keep the sander moving. Depending on the condition of your floor you may have to sand once or twice more.
Because of its size, the drum sander cannot get into corners or close to baseboards. Use the palm sander or sanding block to remove the old finishes in these areas. Use the low grit sandpaper to scuff up the floor and loosen the old varnish. Increase the sandpaper grit with each sanding, ending with the 120-grit sandpaper, which will finalize and smooth your floor. If you find dents and gouges in the boards, repair with wood filler and sand again.
Now that the sanding is complete, clean up. Use the vacuum to remove all residue on windowsills, baseboards, and the floor. It is a good idea to wet mop the floor and wipe down other surfaces with a damp rag to catch any leftover dust.
When using the proper tools and techniques, sanding down your hardwood floors can be rewarding. While refinishing your hardwood floors is a manageable project, our professionals are always happy to help you, providing quick, reliable service. For more information and on preparations for staining or painting, contact us today!
