4 Key Steps for Preparing the Exterior of Your Home for Paint
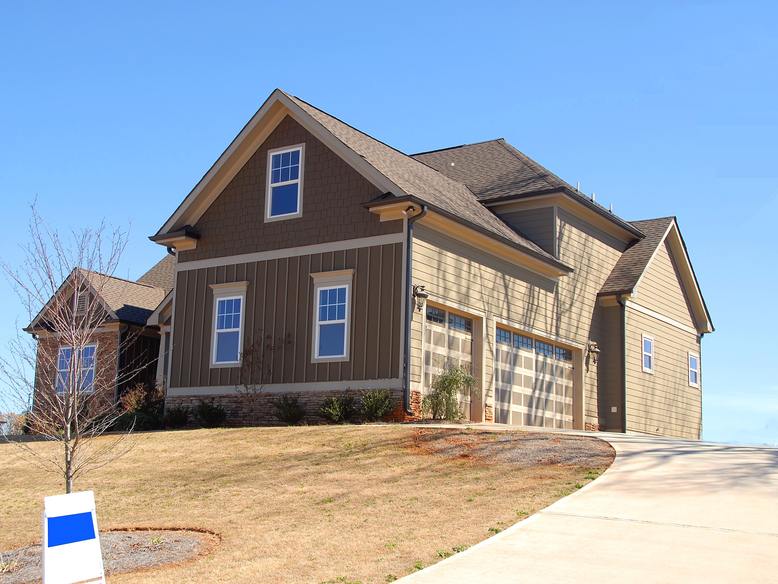
A project for a fresh new coat of paint for your house is a challenging yet rewarding endeavor when properly executed. Although we all are excited to get into the paint and start applying it to the home, there are some essential steps that need to be completed prior to ever opening a paint can. In the industry, we call this the “prep phase,” which refers to the preparation that needs to be done to the exterior of the house to ensure the coating properly adheres to the substrate, so you get the most performance from your paint product as possible.
1. Clean the House
The most common fear among homeowners when dealing with paint is paint failure. Paint failure is often caused by someone not applying the appropriate product to the right substrate or applying a product to a dirty substrate. To ensure proper adhesion, the exterior of the house should always be “pressure washed,” the first step in painting the exterior of a house. Pressure washing will help remove any dirt, light mildew, or other contaminants that might prevent the coating from full adhesion. Another benefit to pressure washing is it also, often times, uncovers areas of light wood rot.
2. Replace Any Rotten Wood
You’ve pressure washed the home, it’s clean, and you were able to see every square inch of the house, giving you a better idea of how involved the preparation phase will be. Unfortunately, you came across some areas of wood rot. It’s essential to remove and replace these areas of wood rot. If these areas of wood rot are not addressed, you open your home to the possibility of insects and moisture, both which can cause real havoc and headaches. Therefore, replace all rotten wood, and caulk it in properly to keep moisture out.
3. Scrape Old Paint, Prime, and Caulk
You’re getting close! After pressure washing and replacing all rotten wood, the next step is to scrape away any areas of loose paint that wasn’t removed in the initial pressure washing phase. It’s very important to scrape all loose paint to ensure your new paint will have proper adhesion. While the new coating might stick to the old because it’s clean, the old coating needs to stick to the substrate to have proper adhesion.
After you scrape all loose paint you need to use an appropriate primer to prime any bare substrates. For example, if you’re priming bare wood, you will need to use an exterior wood primer. If you’re priming bare metal, it’s crucial to use a direct-to-metal primer. Please note, it’s not recommended to prime over any surface rust. Surface rust should be ground down to bare metal and then primed.
After priming comes caulking. Caulking is important because it acts as a barrier where there are gaps and cracks. It’s common to put caulking where pieces of siding meet, around window trim boards, in nail holes, etc. We do not recommend applying caulking on the underside of a horizontal trim board: reason being, if moisture was to get in behind this area, it needs a place to escape. Also, your house slightly expands and contracts with the different seasons, so you want to make sure you’re allowing it to breathe by not caulking it in too tight.
4. And Finally, Paint!
After all these preparation steps, it’s finally time to apply your paint. When painting your home, you will want to plastic off all windows to make sure you don’t get paint on them. If you complete all preparation steps above, you’re on the right road for a successful exterior painting project. At Major Painting, we always say, “Anyone can paint a house, it’s the preparation that no one sees that actually counts!” Best of luck to you on your next painting project, and do not forget that the “prep phase” is just as important as the actual painting!
